
Have you ever wanted to professionally whiten your teeth but have been scared away by a) costs, b) pain, c) going to the dentist, d) all of the above? I’m that girl raising my hand right along with you! I’ve tried my fair share of teeth whitening products – strips, toothpaste, mouthwash, etc. – but have never had the desired outcome. So when Smile Brilliant approached me about their at home teeth whitening kit, similar to those used by the professionals (aka dentists), I jumped on it (who could say no to the words: at home?).
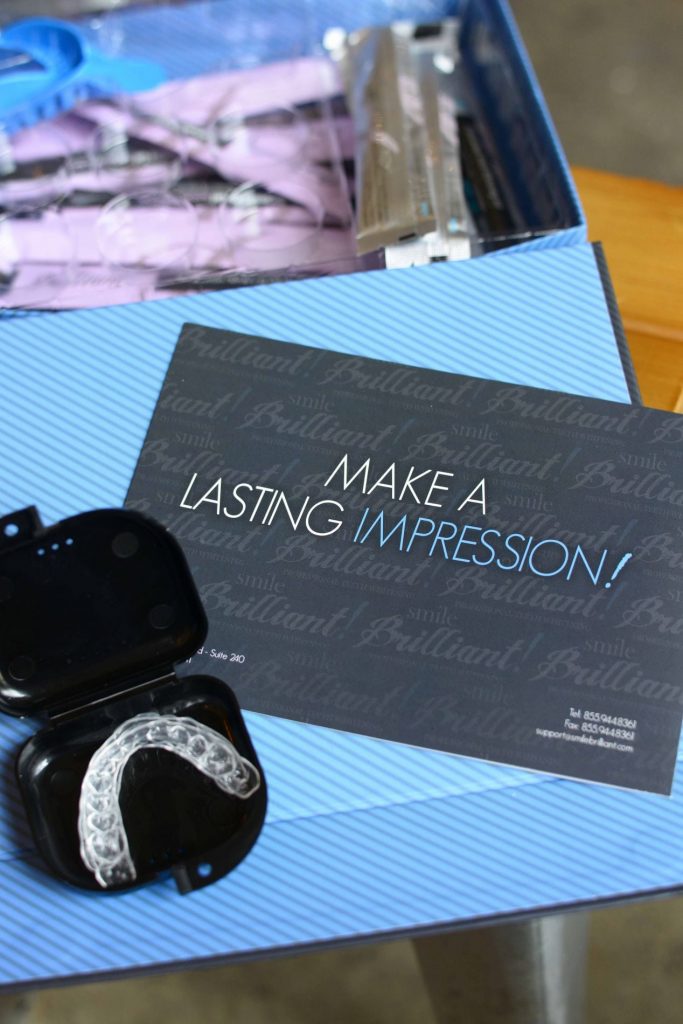
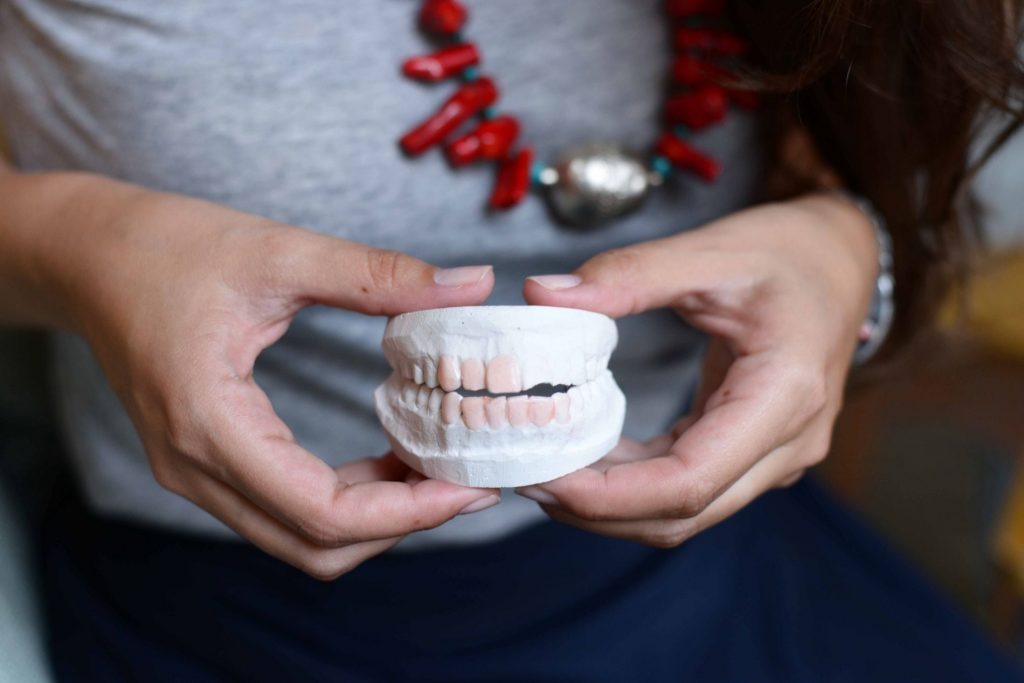
So, a few weeks later, I received my teeth whitening kit, opened it up and was pretty surprised at all the contents inside. Did you have braces as a child? Well if so, chances are you’re rather familiar with the orthodontist/dentist making casts of your teeth with the goopy stuff that hardens in your mouth. Smile Brilliant includes all of this, but it’s rather fun to do it yourself. I was a little intimidated that I would mess up, but fortunately they included some backup putty just in case my cast didn’t go as planned. Spend about 10 minutes taking a cast of your top and bottom teeth line, pop the casts into a mailer, drop in mail, and viola – your on the way to teeth whitening! Smile Brilliant will receive your teeth casts and create whitening trays specific to your mouth. There are trays out there on the market that you can pick up at your regular grocery, big-box store, but these trays aren’t tailored to the person. So chances are, if you’re like me and have a smaller mouth, a tray that is one-size fits all, most likely won’t work for you!
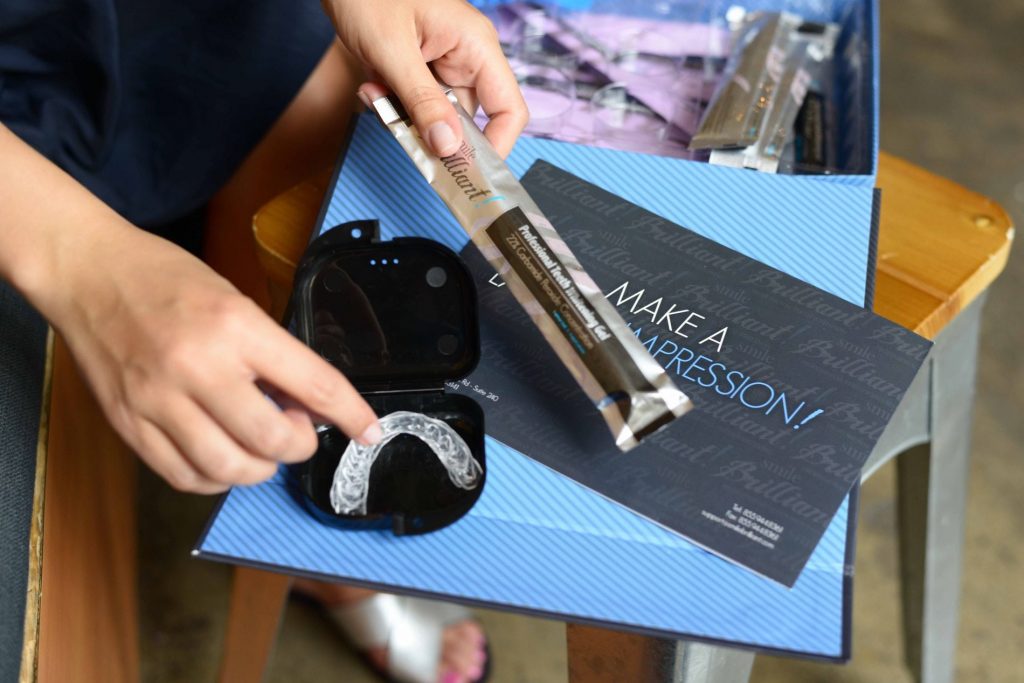
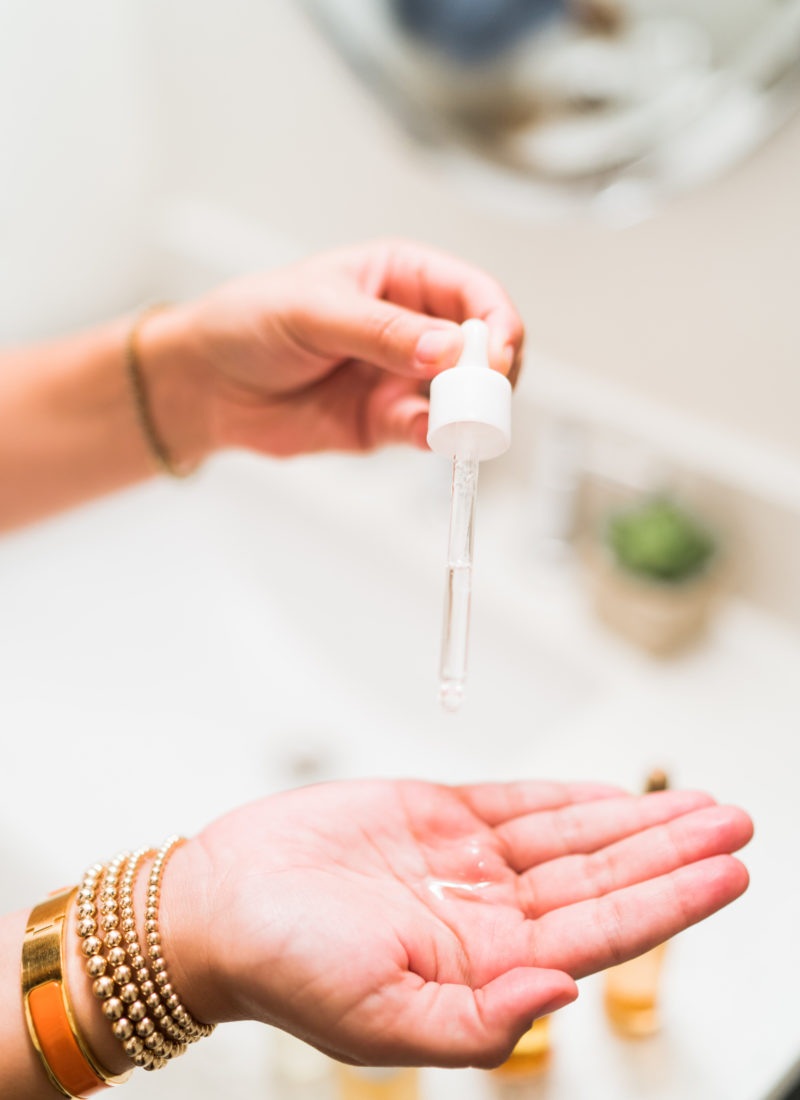
Overall the process was really quick. I received tracking and progress on my trays, and they were mailed back to me in less than a week. My trays are comfortable and fit in my jaw super easily and un-awkwardly. Being a gal that has natural teeth sensitivity, I was a little weary about whitening right away, but Smile Brilliant offers a desensitizing gel for their kit for application prior to teeth whitening to help make the process a little less uncomfortable. Overall, the process was pretty simple – open up one of the syringes of teeth whitening product, rinse out your mouth and make sure your teeth are completely dry, apply the whitening gel into the inside of the top and bottom tray and pop into your mouth. Depending on your sensitivity level you can leave the trays in for up to 45 minutes. Just be cautious that you cannot drink or eat anything after removing the trays for at least 30-minutes, as the natural saliva helps to make the product work – it’s not only whitening your teeth, but Smile Brilliant is also strengthening the enamel of teeth, filling some unnecessary porous areas in our teeth and giving one a bright white look with continued use.

I’ve been using Smile Brilliant’s teeth whitening kit for a few days now and while results aren’t the 24-hour kind, I am definitely seeing progress in my teeth whitening! Now, you might be asking, how can I get my hands on one of these kits for my own use? Well, hop on over to Smile Brilliant and order a custom kit for a little less than $130! If you have any questions, don’t hesitate to reach out! Have you had your teeth professionally whitened before and had success? Or do you have any products that you recommend for teeth whitening? I am so interested to hear!
Outfit:
Tank: Calypso St. Barth // Skirt: Calypso St. Barth // Necklace: 7thAvenue Turquoise by Roxy Rabb c/o // Shoes: J.Crew // Watch: Michele // Earrings: Jude Frances
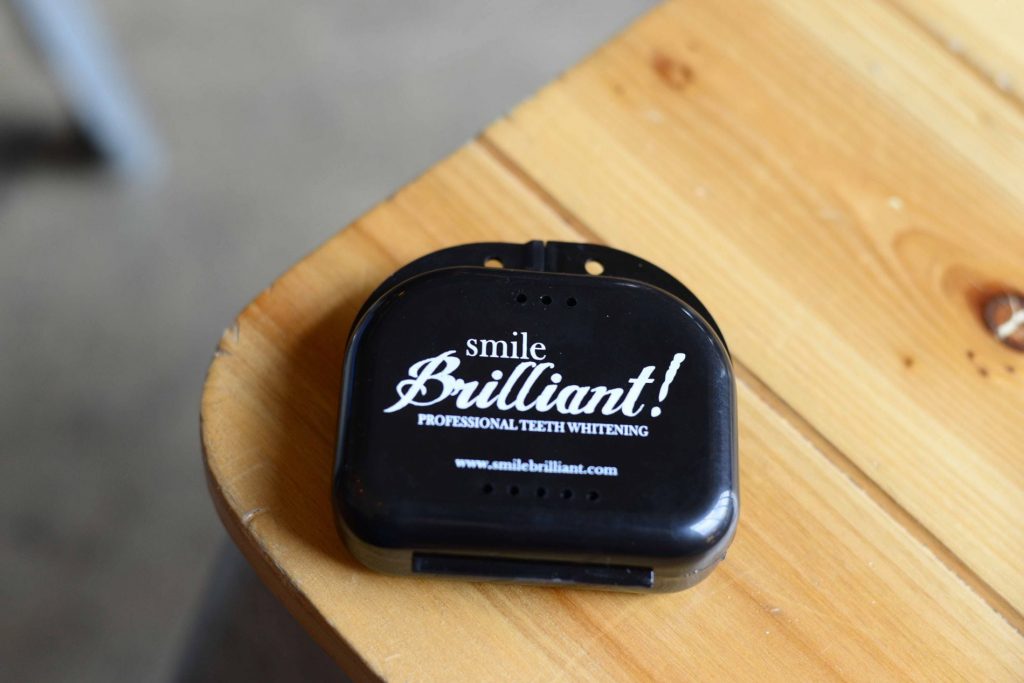
Teeth Whitening Trays by Smile Brilliant
This post was brought to you in partnership with Smile Brilliant. All opinions are my own. Thanks for supporting brands that help make Girl Wonder Life possible.


emily says
love smile brilliant! xo
http://dearserendipity.com/